 Contact Support
 Sign In


This guide explains how to synchronize Softaculous with other installers, helping you maintain better control and organization of your web applications.
Softaculous is an auto-installer integrated into most web hosting control panels, such as cPanel, that simplifies the process of installing, managing, and updating web applications. Softaculous also offers a centralized, user-friendly interface to handle it all, saving time and reducing the need for manual configuration.
When managing a website, it’s not uncommon to have applications installed via different methods, especially if your site has evolved over time or has been migrated from another hosting environment. In these cases, having all your installations visible and manageable in a single place becomes essential for efficiency, updates, and backups.
If you have previously installed applications manually or used a different auto-installer, they may not automatically appear in Softaculous. By synchronizing Softaculous, you enable it to detect and include these existing installations, allowing you to manage them from a single, streamlined interface.
TABLE OF CONTENTS
How to Synchronize Softaculous
1. Login to your Hosted.com® Client Portal.
2. Navigate to Manage Services from the main dashboard.
3. Select your Web Hosting service.
4. Click Manage next to the domain you wish to access.
5. Click Login to cPanel to open your control panel.

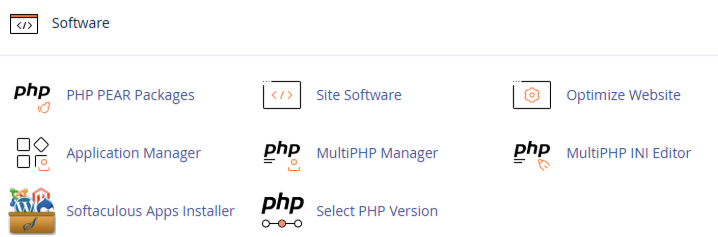
6. Locate and open Softaculous Apps Installer, under Software.
7. Click All Installations or the sync icon in the top-right corner.
8. Review the list of detectable installations.
9. Select the applications you wish to import (or choose all).
10. Click Sync/Import.
Once completed, the applications will appear in your Softaculous dashboard.
Additional Information
- Synchronizing Softaculous is especially useful if you have migrated a website or installed software outside of Softaculous.
- It allows you to manage updates, backups, and settings from a single location.
- Not all applications may be detected perfectly, especially if they were installed using custom configurations.
- Always verify that imported applications are functioning correctly after synchronization.
- This feature helps maintain consistency across your hosting environment and simplifies long-term management.
Login to Hosted.com® Account
1. Go to the Hosted.com® website Account Login page.
2. Enter your Email and Password and click the Sign In button.

3. You will see the Hosted.com® Dashboard, displaying the Manage Account menu on the left and your Account Information, Account Overview and Open Support Tickets on the right.

Login to cPanel from your Hosted.com® Dashboard
4. Click on Manage Services to view the sub-dropdown menu and select the hosting package for the domain you want to work with – in our example we are using WordPress Hosting.
5. Click the Manage button to the right of the domain name you want to access.

6. The display will now show Product Information, Quick Manage, Resource Usage and Site Statistics for that domain name.

7. Under Product Information, scroll down to Control Panel, which will display cPanel to the right, and click on the Login button.
8. The cPanel Dashboard will now be display


