 Contact Support
 Sign In


This guide explains how to safely delete cron jobs in cPanel using your Hosted.com® dashboard, helping you keep your hosting environment clean, efficient, and optimized for performance.
Cron jobs are an important feature of your web hosting, allowing you to automate repetitive tasks such as backups, script execution, and system maintenance. However, as your website evolves, some cron jobs may become outdated, unnecessary, or even problematic if they continue to run in the background.
TABLE OF CONTENTS
How to Delete Cron Jobs in cPanel
1. Login to your Hosted.com® Client Portal.
2. Navigate to Manage Services from the main dashboard.

3. Select your Web Hosting service.
4. Click Manage next to the domain you wish to access.
5. Click Login to cPanel to open your control panel

6. Scroll down to Advanced and click Cron Jobs, or search for cron jobs in cPanel.
7. Locate the Current Cron Jobs section to view all active scheduled tasks.
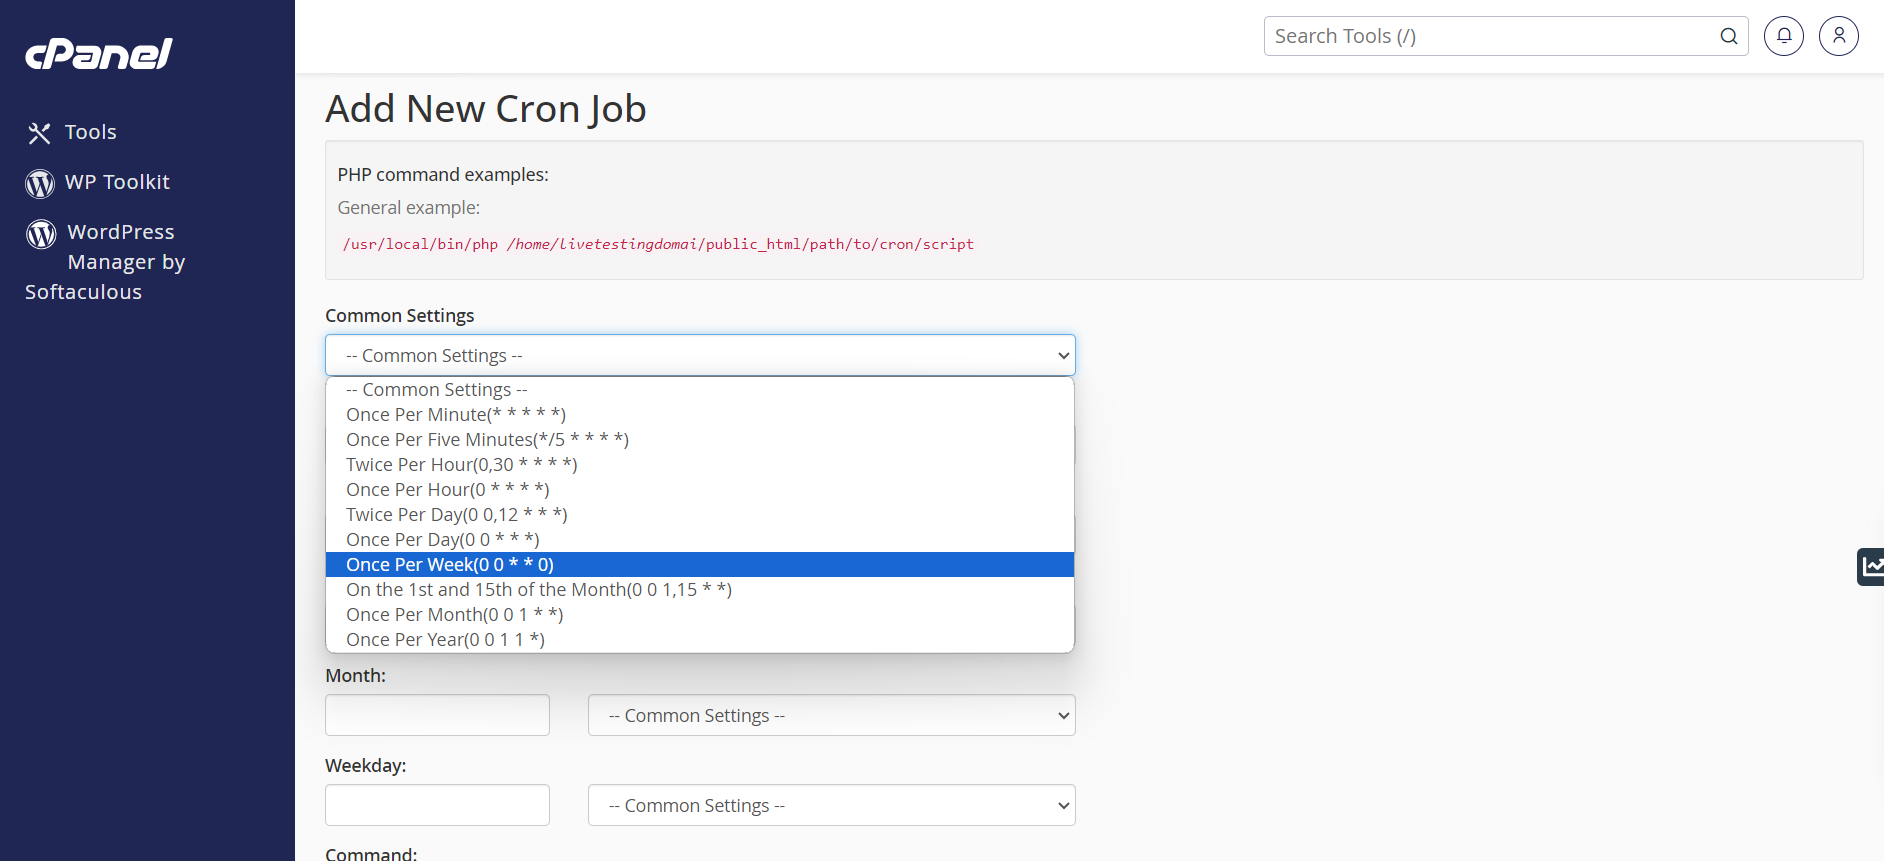
8. Find the cron job you wish to remove.
9. Click Delete next to it.
10. Confirm the deletion when prompted.
Once deleted, the cron job will no longer be executed on your server.
Additional Information
- Cron jobs are powerful tools, but they should be managed carefully. Each cron job consumes server resources such as CPU and memory when it runs.
- Over time, unused or duplicate cron jobs can negatively impact your website’s performance.
- It is also important to regularly review your cron jobs to ensure they are still relevant. For example, if you have removed a plugin or feature that relied on a scheduled task, the associated cron job may still be running unnecessarily.
- If you encounter issues such as repeated errors, excessive resource usage, or slow website performance, reviewing and cleaning up your cron jobs is a good first step in troubleshooting.
- Always ensure that you fully understand the purpose of a cron job before deleting it, especially if it relates to core website functionality.
Login to Hosted.com® Account
1. Go to the Hosted.com® website Account Login page.
2. Enter your Email and Password and click the Sign In button.

3. You will see the Hosted.com® Dashboard, displaying the Manage Account menu on the left and your Account Information, Account Overview and Open Support Tickets on the right.
Login to cPanel from your Hosted.com® Dashboard
4. Click on Manage Services to view the sub-dropdown menu and select the hosting package for the domain you want to work with – in our example we are using WordPress Hosting.
5. Click the Manage button to the right of the domain name you want to access.

6. The display will now show Product Information, Quick Manage, Resource Usage and Site Statistics for that domain name.

7. Under Product Information, scroll down to Control Panel, which will display cPanel to the right, and click on the Login button.
8. The cPanel Dashboard will now be display


