Domain nameservers are an essential part of the Domain Name System (DNS). They act as the internet’s “address book”, translating domain names (like yourdomain.com) into the IP addresses that computers use to communicate with one another.
When you purchase a hosting plan with Hosted.com®, you’ll need to update your domain’s nameservers to point to Hosted.com® so that your website and email function correctly.
TABLE OF CONTENTS
What are Domain Nameservers?
The default Hosted.com® domain nameservers are:
ns1.hostednameservers.com
ns2.hostednameservers.net
ns3.hostednameservers.com
ns4.hostednameservers.net
These nameservers ensure that DNS queries for your domain are directed to Hosted.com®’s servers, allowing your website, email, and other services to work seamlessly.

Where to Use Hosted.com Domain Nameservers
- Domain Registration: If your domain is registered with another provider, you’ll need to update its nameservers to Hosted.com®’s values.
- New Hosting Setup: When you first setup your Hosted.com® hosting account, point your domain to the above-named nameservers.
- Transfers: If you transfer a domain to Hosted.com®, nameservers may automatically update, but it’s best to double-check.
How to Update Domain Nameservers
1. Login to the account where your domain is registered (e.g., Hosted.com® or another Registrar).
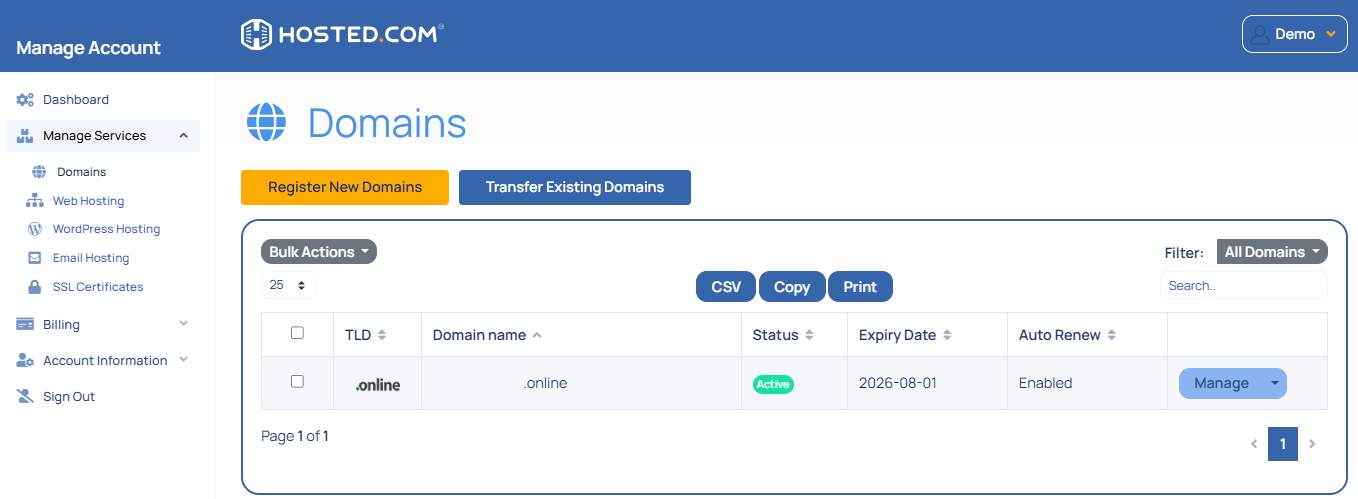
2. Navigate to Manage Services and from the dropdown menu click on Domains.

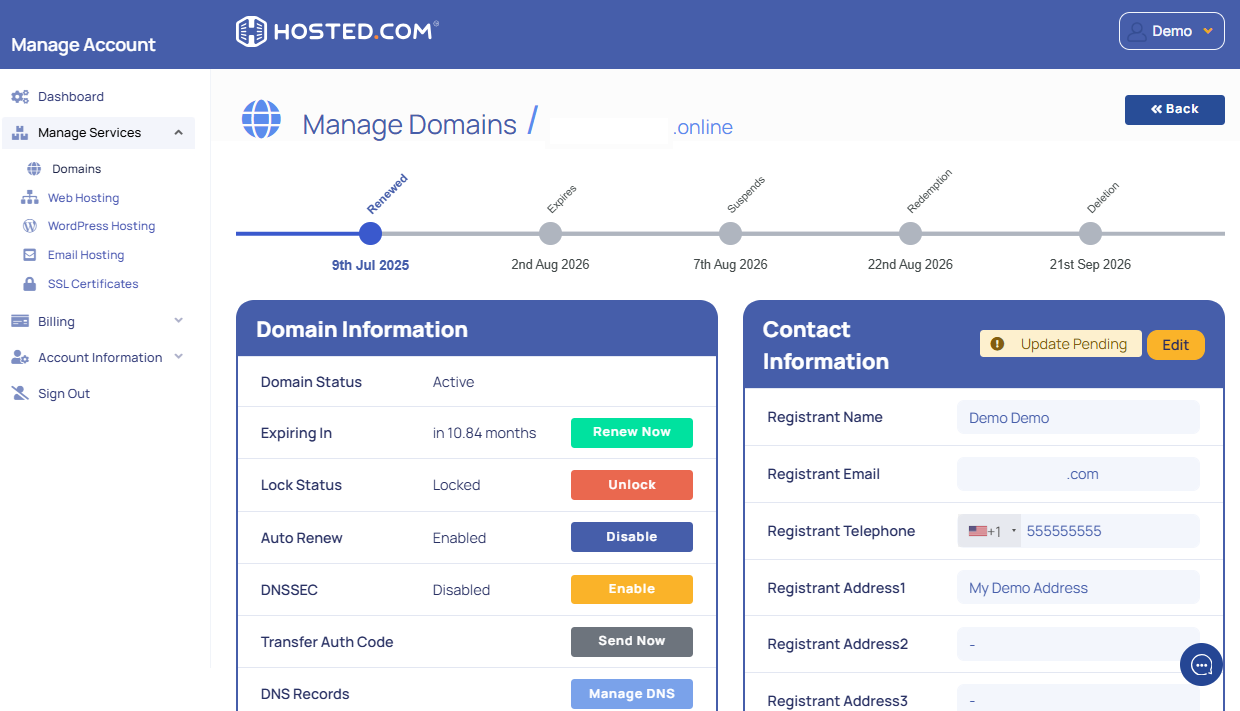
3. Click on Manage next to the Domain and then scroll down to DNS Records and click Manage DNS

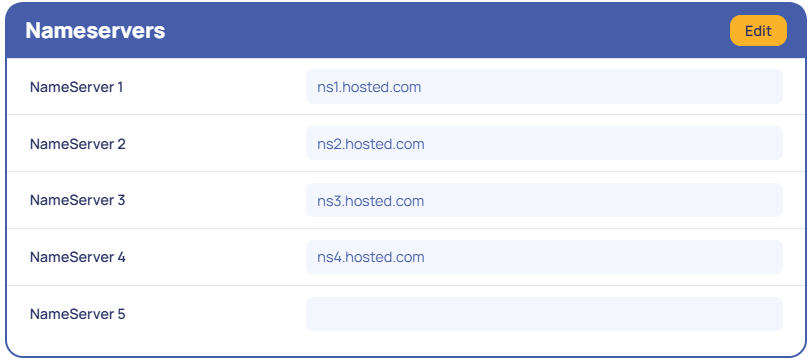
4. Locate the DNS Management or Nameservers section.

5. Replace the existing nameservers with:
ns1.hostednameservers.com
ns2.hostednameservers.net
ns3.hostednameservers.com
ns4.hostednameservers.net
6. Save your changes.
Additional Information
Propagation Time for Domain Nameservers
Changes to nameservers may take 24 to 48 hours to propagate globally, although most updates occur in a few hours.
- Custom DNS Management: Once your domain points to Hosted.com® nameservers, you can manage DNS records (A, CNAME, MX, TXT, etc.) via cPanel’s Zone Editor.
- Partial DNS Hosting: If you want to host your website with Hosted.com® but keep your email with another provider, you can still use Hosted.com® nameservers and adjust MX records in cPanel.
- Third-Party Services: When connecting external platforms (like Google Workspace, Microsoft 365, or marketing tools), Hosted.com® nameservers allow you to add the necessary DNS records directly in cPanel.
- Domain Verification: Many services (e.g., Google, Facebook Business, Mailchimp) require TXT records for verification, which are only possible once your domain is pointed to the correct nameservers.
Troubleshoot Domain Nameservers
If your site isn’t loading after pointing nameservers, clear your local DNS cache or try accessing from another network to confirm if propagation has completed.
- Backup & Restore: If you make DNS changes in cPanel, keep a backup of your current DNS settings in case you need to revert.
- Avoid Mixing Nameservers: Do not use one Hosted.com® nameserver and one third-party nameserver; this can cause inconsistent DNS results. Always use the full pair provided.
- Checking Active Nameservers: You can confirm which nameservers your domain is using, through a WHOIS lookup or DNS tools like MXToolbox or DNSChecker.


